Episode 0: Getting Started — Set Up Your AI Developer in 10 Minutes
Series: Hire an AI Developer Reading Time: ~5 minutes Difficulty: Absolute beginner — no technical experience needed
You don't need to learn to code. You just need to learn how to talk to someone who can code for you. That "someone" is Claude Code.
What is Claude Code?
Imagine hiring a software developer who works instantly, never gets tired, and takes instructions in plain English. That's Claude Code.
It lives inside something called a terminal — that black window with text that you've probably seen in movies about hackers. Don't worry, it's just a text-based way to talk to your computer. You type a message. Claude Code reads it, understands it, and builds what you asked for.
You're the boss. Claude Code is your developer. That's the only mental model you need.
By the end of this post, you'll have Claude Code installed and ready to work. Then in Episode 1, you'll use it to build your first real app.
Step 1: Get a Claude Account
Claude Code is made by a company called Anthropic. You'll need a Claude account to use it.
You have two options:
Option A: Claude subscription (recommended for beginners)
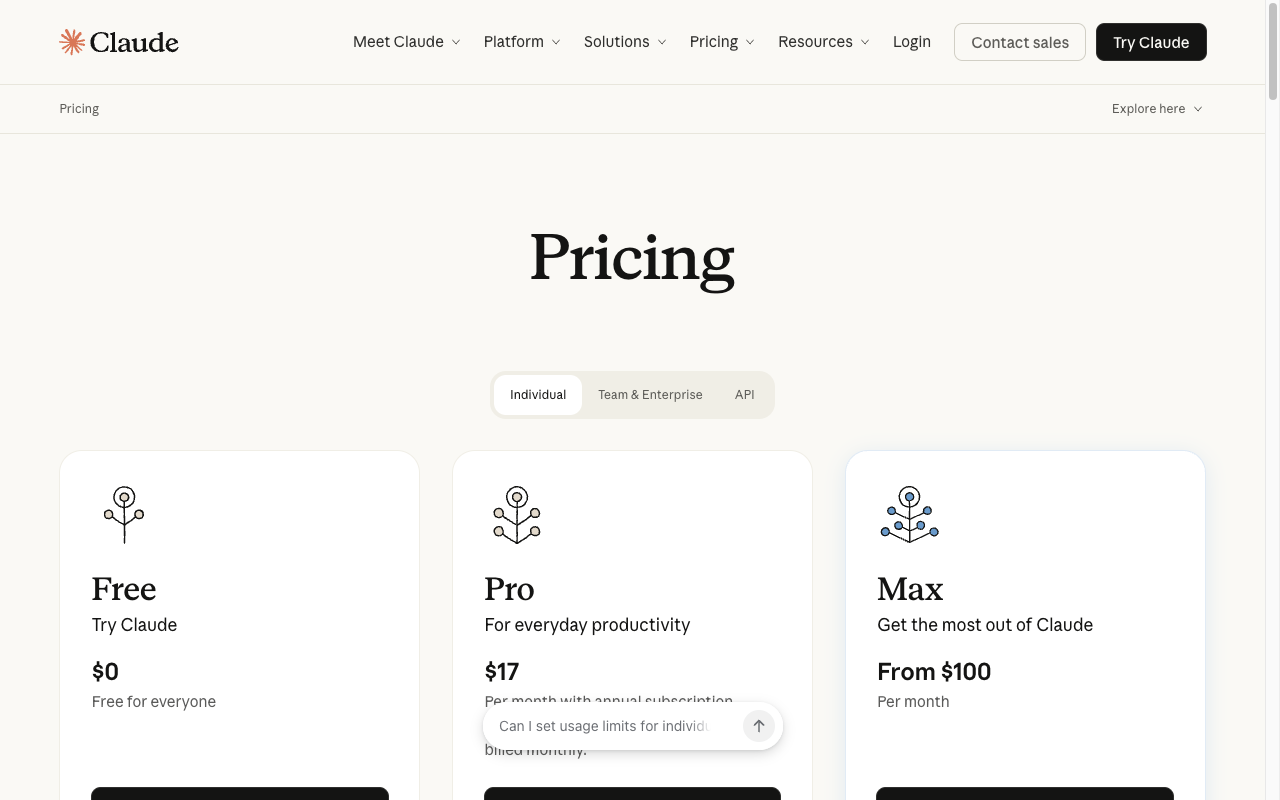
- Go to claude.ai/pricing
- Sign up for a Pro plan ($17/month with annual billing) — this is the simplest way to get started
- That's it. Your subscription covers Claude Code usage.
Option B: Claude Console (pay-as-you-go)
- Go to console.anthropic.com
- Click Sign Up and create your account
- Add some pre-paid API credits — $5 is more than enough for the first few tutorials
Either option works. If you're not sure, go with Option A — one subscription covers everything, no usage tracking to worry about.
Want to try it free first? If you know someone who already uses Claude Code, ask them if they have a guest pass — it gives you a free week of Claude Code to try before committing. I have a few myself: grab one here (limited availability).
Step 2: Install Claude Code
Now we need to install Claude Code on your computer. The full official installation guide is here: code.claude.com/docs/en/quickstart — but we'll walk through the key steps below.
First, open your terminal (remember, that's just the text-based window for talking to your computer):
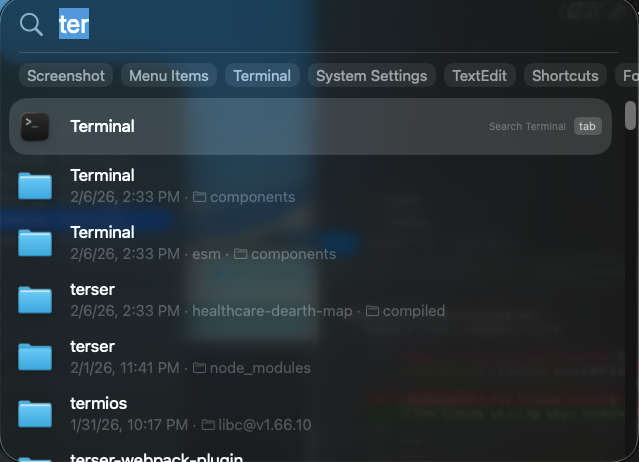
- Mac: Press
Cmd + Space, type "Terminal", and hit Enter - Windows: Press the Windows key, type "PowerShell", and hit Enter
- Linux: You probably already know this one
Now copy and paste the install command for your system:
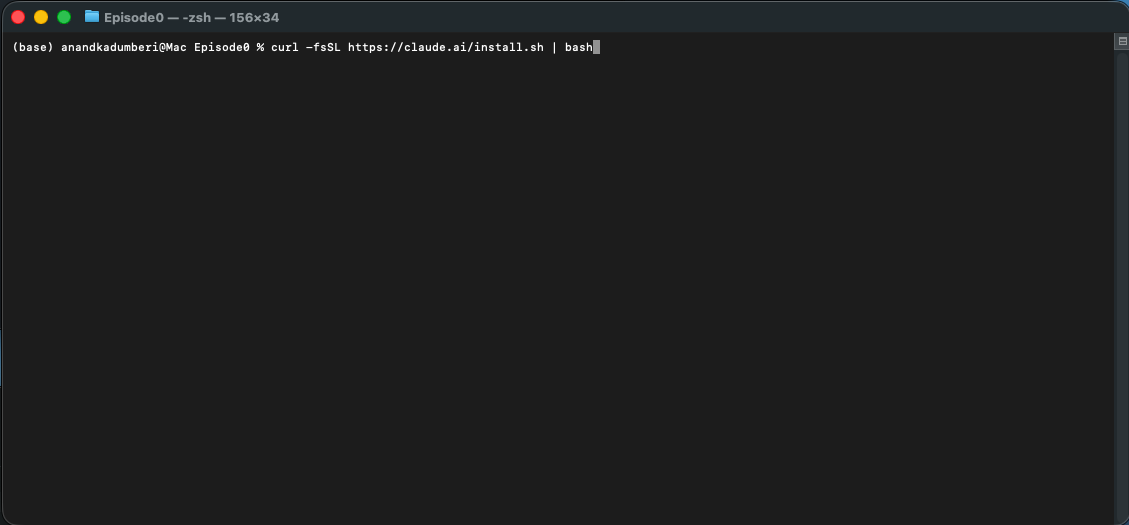
Mac or Linux:
curl -fsSL https://claude.ai/install.sh | bash
Windows (PowerShell):
irm https://claude.ai/install.ps1 | iex
Windows users: Make sure you have Git for Windows installed first. If your prompt starts with
PS C:\, you're in PowerShell — use the PowerShell command above. If it starts withC:\>, you're in CMD and should use:curl -fsSL https://claude.ai/install.cmd -o install.cmd && install.cmd && del install.cmd
Hit Enter and wait for it to finish. You'll see some text scroll by. When it's done and you see your cursor blinking again, you're good.
The nice thing about this installer is that Claude Code will automatically update itself in the background, so you'll always have the latest version.
Alternative install methods: You can also install via Homebrew on Mac (
brew install --cask claude-code) or WinGet on Windows (winget install Anthropic.ClaudeCode). These work fine but won't auto-update — you'd need to run the upgrade command yourself periodically. For the full list of options, see the official quickstart guide.
Step 3: Create Your Workspace
Before we start building things, let's create a folder where all your projects will live. Think of it as setting up a desk before you start working.
Type this into your terminal:
mkdir my-projects
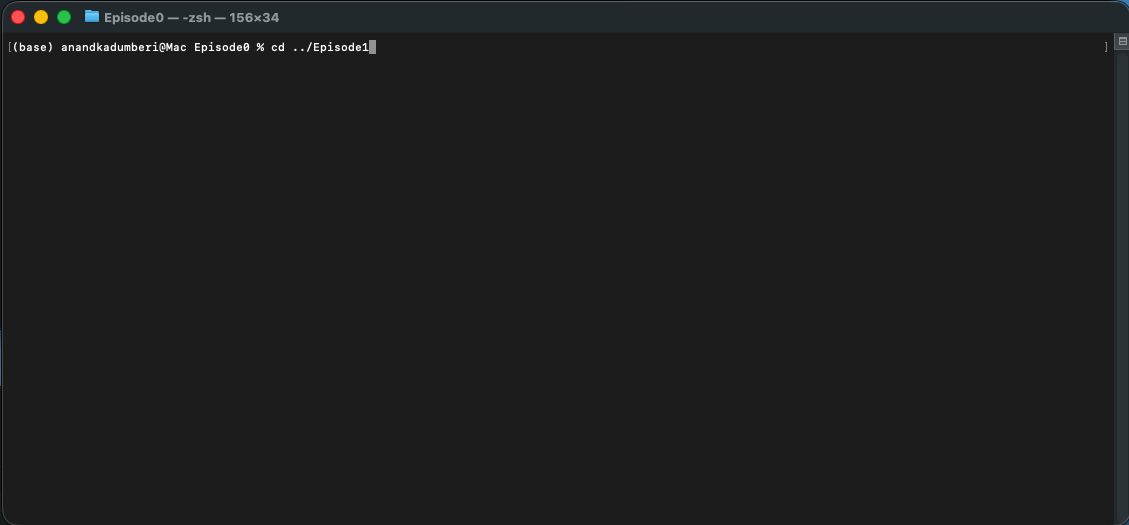
That just created a new folder called "my-projects." Now let's go into it:
cd my-projects
That's it. You're now "inside" your project folder. Anything you build will be saved here.
What did those commands mean?
mkdir= "make directory" (a directory is just a folder)cd= "change directory" (move into that folder)
These are the only two terminal commands you need to know. Everything else, you'll tell Claude Code in plain English.

Step 4: Launch Claude Code and Log In
Here's the moment. Type this:
claude
That's it. One word.
The first time you run this, Claude Code will ask you to log in. It'll open a browser window where you can sign in with the Claude account you created in Step 1. Follow the prompts — it takes about 30 seconds.
Once you've logged in, your credentials are saved. You won't need to log in again next time.
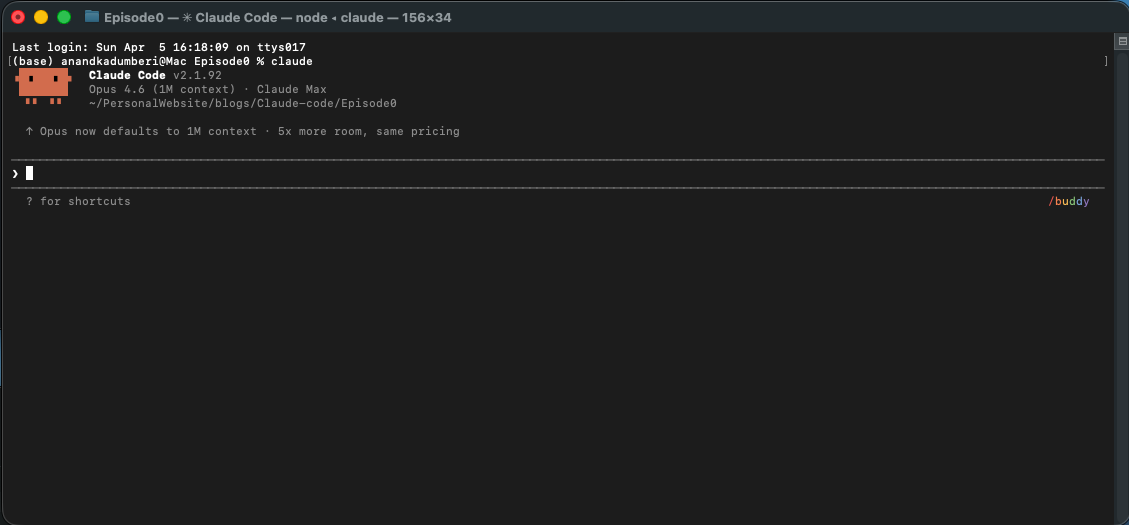
After login, you'll see the Claude Code welcome screen with a cursor waiting for your input. You're now talking directly to your AI developer.
The Handshake: Make Sure It Works
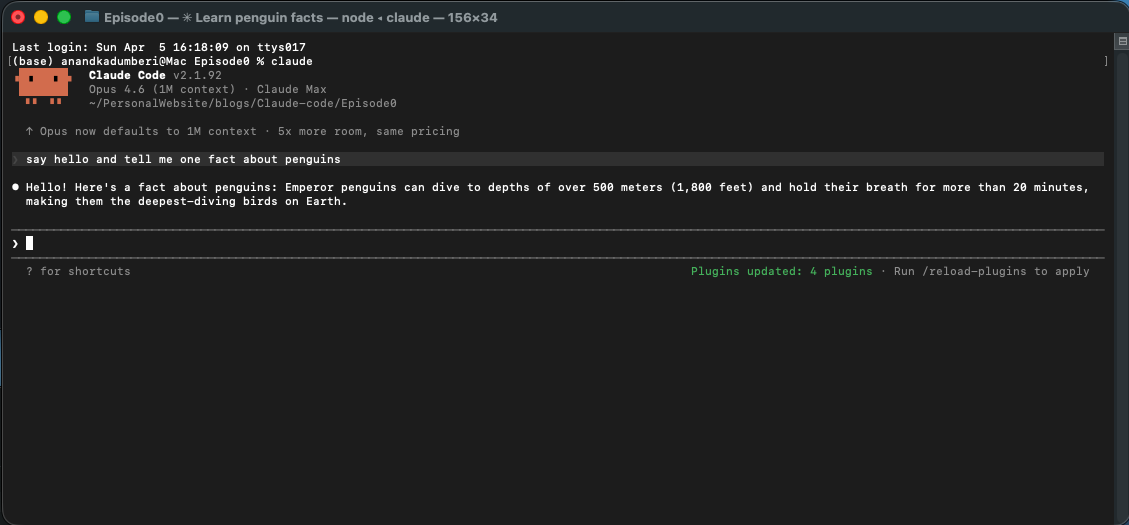
Let's do a quick test. Type this into Claude Code:
Say hello and tell me one fun fact about penguins.
If Claude Code responds with a greeting and a penguin fact, you're all set. Everything is working.
Congratulations — you just had your first conversation with your AI developer.
What's Next?
You're set up. You have an account, Claude Code is installed, and you've confirmed it works.
In Episode 1, we're going to build something real. You'll take a bank statement and turn it into a fully interactive budget dashboard — complete with charts, filters, and insights. No coding required. Just you, telling Claude Code what to build.
It takes about 15 minutes, and by the end, you'll have a working app running on your computer.
Read Episode 1: Build Your Own Budget Tracker
Have questions? Get stuck on the setup? Feel free to reach out to me on LinkedIn — I'd be happy to help you out.